This Tut was written on the 13th of November 2008
Any similarity to any other tutorials is purely coincidental.
TOOLS NEEDED
Tube of choice, I am using the great work of Disdane you can purchase this tube
Here please do not use this tube
without A proper license #.
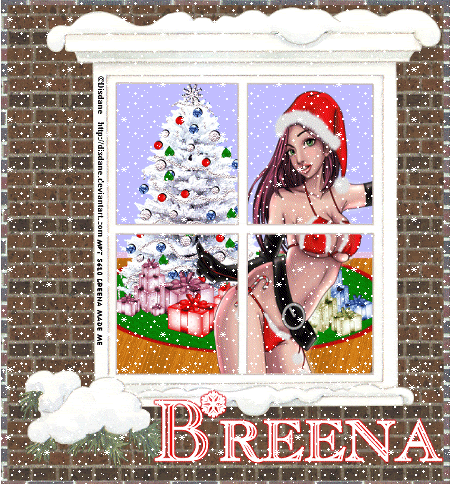
Window tube of choice
gifts, and tree tubes by rainbow coffi you can visit
Psp Playgroundin order to get them
Snow animation of choice
Font Christmas/snowflakes you can find it
Here under Christmas
Filters eyecandy textures and eyecandy 4000 (optional)
Animation shop
A good knowledge of psp for this tutorial
Grab a drink and a snack we have alot of work ahead of us lol
OPen a 600x600 blank canvas and copy and paste your window tube as this will be our guide to make our tag.
We are going to be makin our rug at this time pick 2 colors that will match your tag as I have picked red and green since mine is a Christmas theme. Click on your preset shapes and pick a shape for your rug, I choose the eclipse with somewhere between 8-10. Objects align center in canvas that way its in the middle of your window layer. Convert to raster layer. Click in your innter circle which would be my green part and go to effects texture effects and choose one to your liking. Click on your outer circle my red part and go to effects plugins and choose your eyecandy texture effects and use the animal fur with the following.

Now here is the tricky part I want you to click on your deform tool mode set as free, you should now have 6 or so little nodes go to the top and click on the middle one, bring it down but not to much, just so it makes it look like the rug is laying flat, you can also play with the other little nodes if you have to ill let you lol. Bring it under your window layer we will place it later.
Now this may seem backwards but thats ok you will prolly understand why I did it this way click on your background layer go to your foreground and background change this to a pattern I changed it to woodgrain 1 cause I love hardwood floors lol. Click on your preset shape and choose your rectagle now make a decent size rectangle convert to raster we'll be playing with our little nodes again. 1st click your middle node and bring it down some that way it looks like its going flat, then go to your bottom middle node and bring it up some pull the right and left side a little also this should make it look like its totally flat you have to play around to get it the way you want it.
Bring this below your window and rug delete whatever parts you have hanging out of your window you can resize your rug also I resized my rug by 90 % cause thats all I needed to resize, place wherever you like on your floor we are going to make the wall now.
Pick 2 colors of your choice for a background and foreground width set to about 3 or 4 preset shapes set to rectangle make it as big as your window and convert to raster send to the bottom that way you can see your floor and rug. Add the rest of your tubes and make it look the way you want it to not how I have it but its your choice Add your copyrights also.
Add your name I did a white background and a red foreground with set to 3 and added a red gradient glow. For the outside of the house I choose a brick wall from my patterns i set the background to the bigger bricks and foreground set to the smaller bricks choose your preset shapes and make a big rectangle around your window send all the way to the bottom so its about your original background layer copy merged when finished and paste as a new animation. Duplicate this 10 times open your snowflakes and select all copy go to your tag select all and paste snow into frame save your tag you are all done now


